Topological digitizing in MiraMon
MiraMon allows you to digitize polygons, arcs or points with or without topology.
When starting the digitizing (F2 or through the menu) you can choose the type of vector
and, then, if you want to digitize with or without topology.
Digitizing polygons
MiraMon allows you to digitize polygons of two different types:
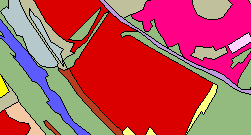
Topology-verified polygons. When digitizing polygons the use of topology allows a perfect control of the spatial relationships between polygonal entities, avoiding artifacts
such as overlays, slivers between polygons, etc. This is ideal for creating layers of polygons that cover adjacently, without errors, the space,
such as a layer of municipalities or a land cover map generated by photointerpretation of orthoimages.
Explicit polígons. Without topology a freer drawing is allowed, with overlays, etc. As examples of layers that do not require topological control, we can mention the generation of disjoint polygons in a dataset of remote sensing training areas,
or cases in which we are interested in some areas presenting overlays of polygons, such as buildings built on cadastral parcels being a bit larger than the constructed surface.
While digitizing, the symbolization of the edges of the polygons is the one of the arcs and not the one of the edges of the polygons.
Below, some tutorials explaining the whole process on digitizing polygons in a practical way:
Digitizing polygons with topology
This video explains the process of creating and editing polygons with topology in MiraMon. First, a fictitious layer of polygons is created to demonstrate how the main tools work. Next, an applied demonstration of the digitizing of land covers in Port dAlcúdia (Mallorca) is shown, presenting other more advanced tools. In the background, a PNOA actual orthophoto is used, available in MiraMons favourite collections.
During the process, useful auxiliary tools integrated in MiraMon are shown.
Digitizing polygons without topology
This video explains the process of creating and editing polygons without topology in MiraMon. First, a fictitious layer of polygons is created to show how the main tools work. Next, an applied demonstration of the digitizing of training areas to obtain a land cover map in Barcelona is exhibited, presenting other more advanced tools. In the background, a false colour orthophoto is used, composed with the near infrared, red and green bands.
During the tutorial, the creation process of a DBF table and how to link it as a thesaurus is taught, and also how to get the complete ortho classified by land cover, once the training areas have been digitized.
During the process, useful auxiliary tools integrated in MiraMon are shown.
Highlighted features (for structured polygons with verified topology)
The program continuously builds and checks the relationships between arcs and nodes and the thematic coherence between polygons.
All "anomalies" are recorded and the user can go through them and resolve them at any time.
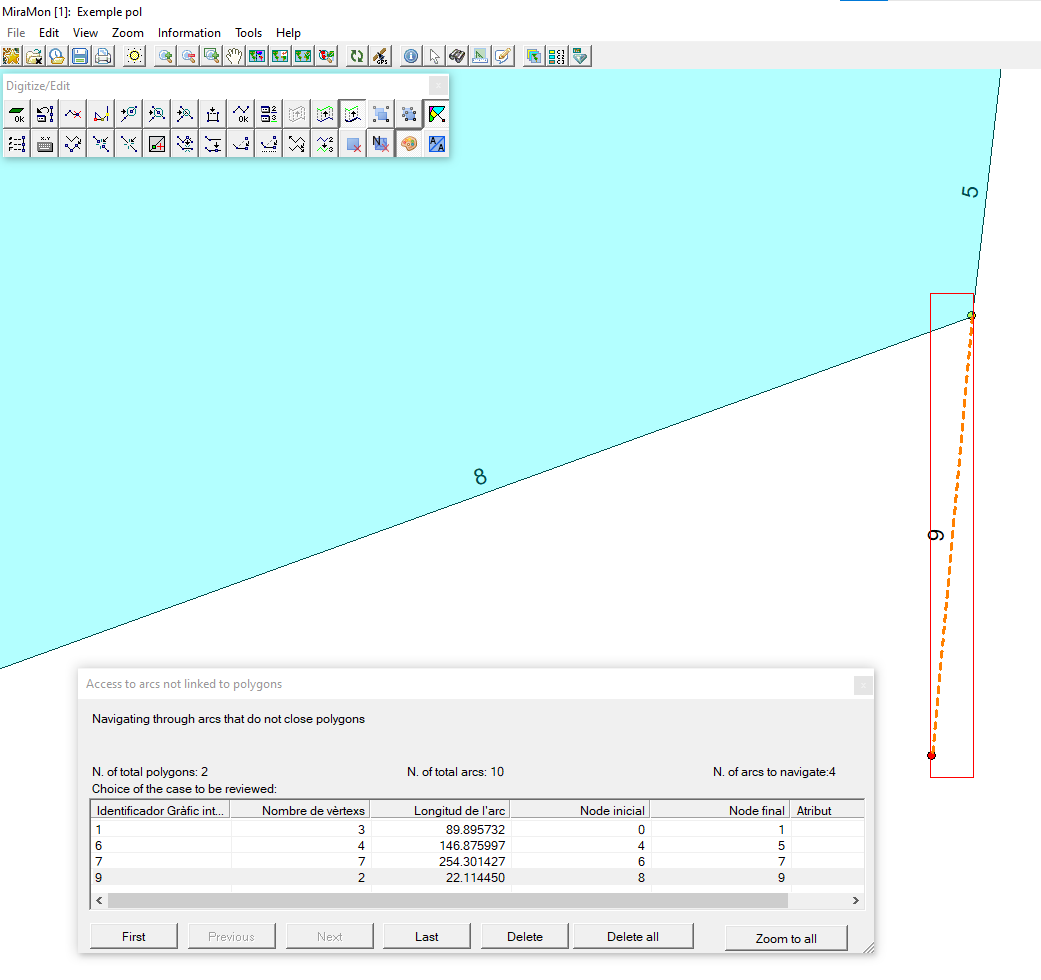
Navigation by arcs not related to any polygon
This window shows the list of arcs that do not close
any polygon, that is, they are not related to a polygon. This can be due to several reasons:
a line that pretends to be a separation between two zones but doesn't complete any zone;
a line that intersects an arc but not in an exact way (some part exceeds).
When an arc is selected (selecting one of the rows of the table or using the buttons below) the program
zooms in the area where the arc is so that the user can decide what to do with it: delete it or modify its layout.
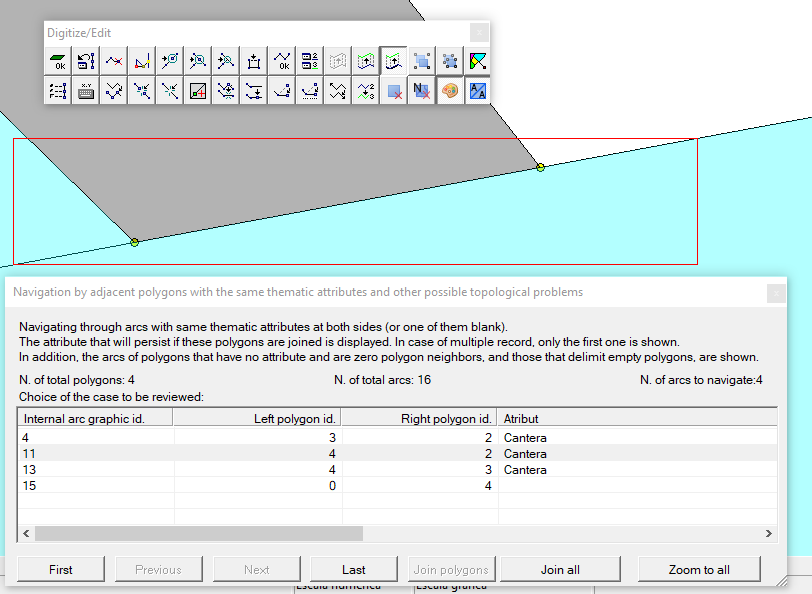
Navigation by adjacent polygons with the same thematic attributes
This window shows the
list of arcs that have polygons on both sides with the same thematic attributes or with one of the two attributes
blank (or both). In addition, it shows the arcs that are part
of polygons that have no attribute and those that delimit topological holes. This can be due to several reasons:
a polygon has been split and one of the attributes has not been changed;
a drawn arc has created a polygon with no attribute or the wrong attribute. When an arc is selected
(by selecting one of the table rows or by the buttons
below) the program zooms in on the area where the arc that separates the two polygons is located
so that the user can decide what to do with them: join them or modify the attribute of one of the two.
Consult, if necessary, the technical notes page for information on
"Format specification of the MiraMon structured vector files" or "Structured polygons file types (POL) and digitizing in MiraMon".
Digitizing arcs/lines
MiraMon allows you to digitize arcs of two different types:
Arcs with verified topology. In the digitizing of lines forming true arcs and nodes the use of topology allows a perfect control of the spatial relationships between the linear entities, avoiding artifacts
like crossings that do not make explicit a connection node, or the existence of lines with coincident tracing. This is ideal for creating layers of lines that run through space in a never coincident way and with total control
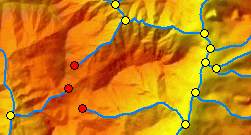
of their connections, such as in a river dataset; it is also adequate for detecting contacts between elements that do not have to occur, as in a layer of contour lines of different elevations.
Arcs without verified topology. Without topology a freer drawing is allowed, with crossing lines (the existence of nodes in the intersections is not always made explicit by cutting the lines) or even with total or partial overlaps.
As an example of a layer where topological control is not appropriate, we can mention the generation of lines in a road layer when we are interested in the fact that the crossing of roads does not
always generate a connection (as when the roads cross at different levels thanks to a bridge).
Below, some tutorials explaining the whole process on digitizing arcs in a practical way:
Digitizing arcs with topology
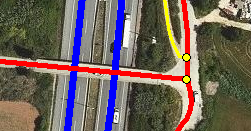
This video explains the process of creating and editing arcs with topology in MiraMon. First of all, a fictitious layer of arcs is created to demonstrate how the main tools work. Next, an applied demonstration of the digitizing of old roads in the Ebro Delta is shown, presenting other more advanced tools. In the background, a 1:5000 orthophoto from 1983 is used, from a WMS geoservice of historical orthophotos of the Institut Cartogràfic i Geològic de Catalunya (ICGC).
During the process, useful auxiliary tools integrated in MiraMon are shown.
Digitizing arcs without topology
This video explains the process of creating and editing arcs without topology in MiraMon. First of all, a fictitious layer of arcs is created to demonstrate how the main tools work. Next, an applied demonstration of the digitizing of routes in Lleida (Catalonia) is shown, presenting other more advanced tools. In the background, a 1:2500 current orthophoto is used, available in MiraMons favourite collections.
During the process, useful auxiliary tools integrated in MiraMon are shown.
Highlighted Features (for structured arcs with verified topology)
The program continuously builds and checks relationships between arcs and nodes:
when two arcs intersect, a node is created at the point of intersection automatically;
when two arcs overlap completely, a multi-record arc (if needed) is created as a result of that union;
if the overlap is partial, the appropriate nodes and multiple (if needed) records are created.
Digitizing points
MiraMon allows you to digitize points of two different types:
Topology verified points. In the digitizing of points the use of topology allows a perfect control of the spatial uniqueness between the point entities, avoiding artifacts
like the existence of different points in coincident locations. This is ideal for creating layers of points that require to be in space in a never coincident way,
such as in a dataset of rainfall stations.
Points without verified topology. Without topology a freer drawing is allowed, with superposition of points in the same coordinate. As an example of a layer where topological control is not appropriate we can mention the generation of a simulation of lidar points in a forest area,
where two signals can coexist in the same position at different heights, or with a different pulse code.
Below, a tutorials explaining the whole process on digitizing points in a practical way:
Digitizing points with and without topology
This video explains the process of creating points in MiraMon. First, a decision on the convenience of using or not topology is made. A fictitious layer of points to monitor the health of the trees in Barcelona is created. In the background, an orthophoto from a WMS geoservice of the "Institut Cartogràfic i Geològic de Catalunya" (ICGC), which can be found in MiraMon's favorite collections.
During the process, useful auxiliary tools are shown in MiraMon environment.
See the help manual
It is distributed together with MiraMon-Professional and on-line.
Download and purchase MiraMon Professional